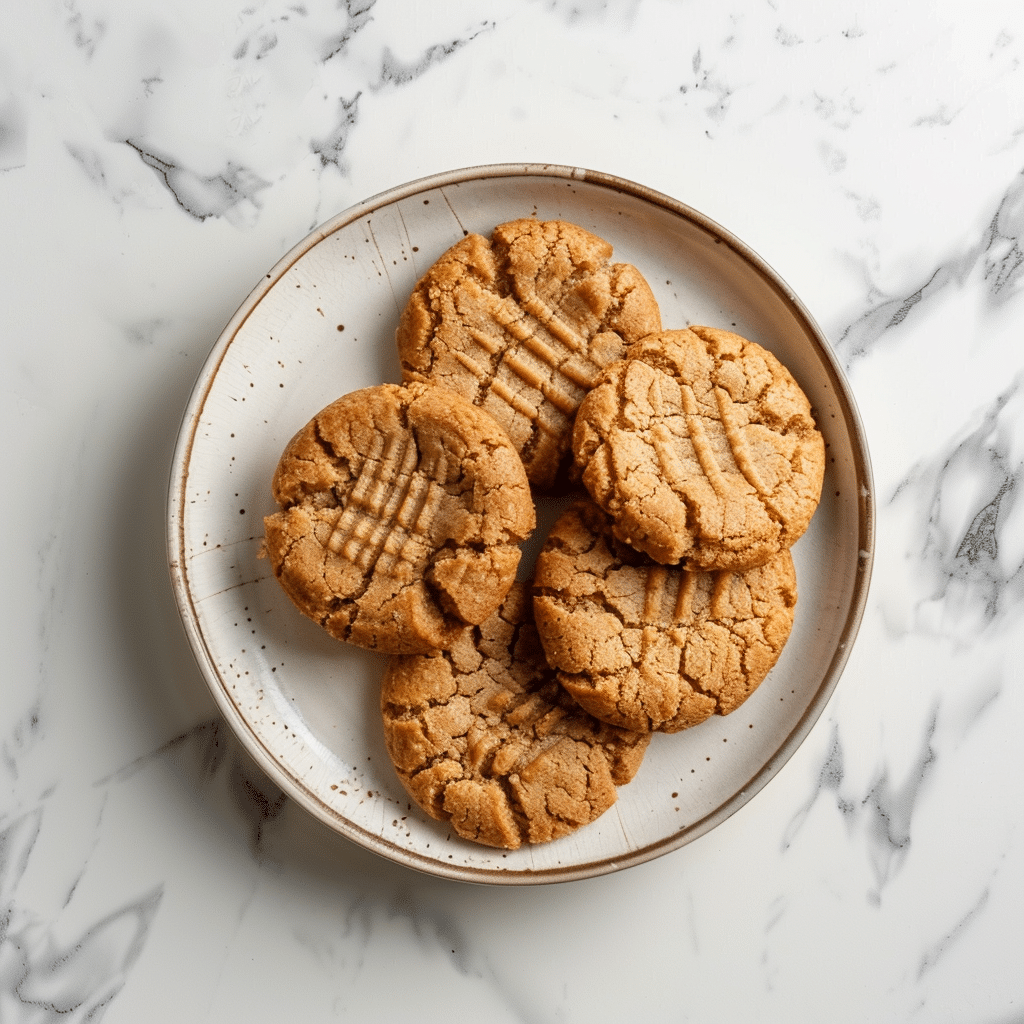
Make these flourless peanut butter cookies with just 4 ingredients in one bowl. Naturally gluten-free, rich, and ready in about 15 minutes—perfect for last-minute cravings.
Why You’ll Love This Recipe
 8")
These flourless peanut butter cookies are the kind of baking win you can pull off even when your pantry is almost empty and your schedule is packed. You only need 4 basic ingredients, one bowl, and about 15 minutes from mixing to cooling on the tray.
Table of Contents
Because there’s no flour or butter, the peanut butter does all the heavy lifting for structure, fat, and flavor, giving you naturally gluten-free cookies with an intense, nutty taste and a soft, slightly chewy center. The texture feels like a cross between a classic peanut butter cookie and a peanut butter fudge bite, which is why they’re so satisfying for minimal effort.
Why this recipe works
- 4 ingredients: Peanut butter, sugar, egg, and vanilla form a simple, reliable base that bakes up perfectly without any flour.
- 1 bowl & minimal cleanup: You stir everything together in a single bowl—no mixer needed, and dishes stay under control.
- 15 minutes total: The dough doesn’t need chilling if your peanut butter isn’t too runny, so these are perfect for last-minute guests or late-night cravings.
- Naturally gluten‑free: Because the structure comes from the egg and peanut butter, you avoid flour entirely while still getting a cookie that holds together.
Real‑life example: This is the kind of recipe you can make when friends text that they’re “10 minutes away” and you haven’t planned dessert. You can have the dough mixed and cookies in the oven before they ring the doorbell.
Print 9")
Flourless Peanut Butter Cookies
- Total Time: 15 minutes
Description
These flourless peanut butter cookies are rich, chewy, and packed with classic peanut butter flavor—without a speck of flour. Made with just 4 pantry ingredients, they come together in minutes and are perfect for busy weeknights, bake sales, or last‑minute sweet cravings in any US kitchen.
Ingredients
1 cup creamy peanut butter (not natural, well stirred)
3/4 cup granulated sugar
1 large egg, room temperature
1 teaspoon pure vanilla extract
1/8 teaspoon fine salt (omit if peanut butter is salted)
Optional add-ins:
1/2 cup semi-sweet chocolate chips
1/4 cup chopped peanuts
Flaky sea salt, for topping
Instructions
Preheat your oven to 350°F and line a baking sheet with parchment paper or a silicone baking mat.
In a medium mixing bowl, whisk together the sugar and egg until well combined and slightly thick.
Add the peanut butter, vanilla, and salt (if using), then stir with a spatula until the mixture forms a smooth, thick dough.
If using, fold in the chocolate chips and/or chopped peanuts until evenly distributed.
Using a 1-tablespoon cookie scoop or measuring spoon, portion the dough and roll each scoop into a ball with your hands.
Place the dough balls on the prepared baking sheet, spacing them about 2 inches apart.
Use a fork to gently press each ball down in a criss-cross pattern, flattening the cookies to about 1/2 inch thick.
Bake for 8–10 minutes, or until the edges look set and the tops are no longer shiny but the centers still look slightly soft.
Remove the baking sheet from the oven and let the cookies cool on the pan for 5–10 minutes to firm up.
Transfer the cookies to a wire rack to cool completely; sprinkle with flaky sea salt while warm if desired.
Notes
For best texture, use a regular creamy peanut butter (like Jif or Skippy); very oily natural peanut butter can make the cookies spread too much.
If your dough looks shiny or too soft, chill it for 15–20 minutes before baking to help the cookies hold their shape.
Pull the cookies from the oven when the centers still look a bit soft; they will firm up as they cool and stay nice and chewy.
To freeze, place cooled cookies in a freezer-safe bag or container and freeze for up to 2–3 months; thaw at room temperature or warm briefly in the microwave.
- Prep Time: 5 minutes
- Cook Time: 8–10 minutes
- Category: Dessert, Cookies, American cuisine
- Cuisine: American
Nutrition
- Calories: 120–130 kcal
- Sugar: 8–9 g
- Carbohydrates: 10–11 g
- Protein: 4–5 g
Ingredients
Peanut butter (types + tips)
Peanut butter is the star here, so its texture matters more than in a flour-based recipe. For best results:
 10")
- Use “regular” creamy peanut butter: Classic shelf-stable peanut butters (like Jif, Skippy, or store brands) tend to give the most predictable results because they’re thicker and more emulsified.
- Natural peanut butter: If you prefer natural (ingredients: just peanuts or peanuts + salt), it can work but will be looser and more oily. To keep the cookies from spreading too much:
- Stir the jar very well to reincorporate the oil.
- If the dough feels loose or shiny, chill it for 20–30 minutes before baking.
- Crunchy peanut butter: Great if you love texture. Cookies may be slightly crumblier but have a nice peanut crunch.
Safety note: If baking for a group, always mention clearly that these cookies contain peanuts and are made in a peanut-heavy environment to protect those with allergies.
Sugar options
Sugar doesn’t just sweeten the cookies—it also affects texture and moisture. You can customize your batch based on what you have and what you like:
- All granulated white sugar:
- Yields cookies that are slightly crisp on the outside and chewy in the center.
- All light brown sugar:
- Adds a hint of caramel flavor and gives a chewier, slightly softer cookie.
- Half white, half light brown:
- A great balance: nice chew, gentle crisp edges, and more depth of flavor.
You can lightly reduce the sugar (for example, to ⅔ cup total), but if you go too low, the cookies can turn dry and less cohesive because sugar helps bind and retain moisture.
Egg & vanilla
- Egg:
- Provides structure and holds the cookie together since there’s no flour.
- Room-temperature egg mixes more smoothly into the peanut butter, giving a more even texture.
- Vanilla extract:
- Rounds out the peanut flavor and adds that classic “bakeshop” aroma.
- If you don’t have vanilla, the cookies will still work, but they’ll taste more purely peanut‑forward.
Optional add-ins
Optional ingredients are where you can have fun and make these cookies your own:
- Chocolate chips or chopped chocolate:
- Semi‑sweet or dark chocolate keeps the cookies from being overly sweet and balances the peanut flavor.
- Chopped peanuts:
- For extra crunch and a more rustic look.
- Cinnamon or pumpkin spice:
- A pinch adds warmth and makes them feel cozy, especially in cooler months.
- Sea salt flakes on top:
- Sprinkle a few flakes on each cookie right after baking for a gourmet bakery feel and a sharper flavor contrast.
How to Make Them (Step-by-Step)
1. Preheat your oven
 11")
- Set your oven to 350°F (175–180°C) and let it fully preheat.
- Line a baking sheet with parchment paper or a silicone baking mat so the cookies don’t stick and the bottoms don’t over‑brown.
Pro safety note: Always keep oven mitts dry. Wet mitts can conduct heat and cause burns when you grab a hot tray.
2. Mix the dough
- In a medium bowl, whisk the egg and sugar together until the mixture looks slightly lighter and thick.
- Add the peanut butter, vanilla, and a pinch of salt if your peanut butter is unsalted.
- Stir with a spatula or spoon until smooth, thick, and uniform.
- Fold in any add-ins like chocolate chips or chopped peanuts.
You’re aiming for a dough that is firm enough to roll into balls but still soft and pliable. If the dough feels oily or very loose, pop it into the fridge for 15–20 minutes.
3. Shape & criss-cross
- Use a tablespoon or small cookie scoop to portion the dough into balls.
- Gently roll each portion between your hands to make smooth balls and arrange them on the tray with some space in between.
- Using a fork dipped lightly in sugar (to prevent sticking), press each ball down in one direction, then press again at a 90° angle to make the classic criss‑cross pattern.
This pattern is not just for looks—it also helps the cookies bake evenly by flattening them to an even thickness.
4. Bake & cool
- Bake the cookies for 8–10 minutes.
- The signs they’re done:
- Edges look set and slightly darker.
- Tops are no longer shiny but still look a little soft in the center.
- Remove the tray from the oven and let the cookies rest on the tray for 5–10 minutes before lifting them with a spatula.
As they cool, they firm up and become chewy. If you try to move them immediately, they’re more likely to break.
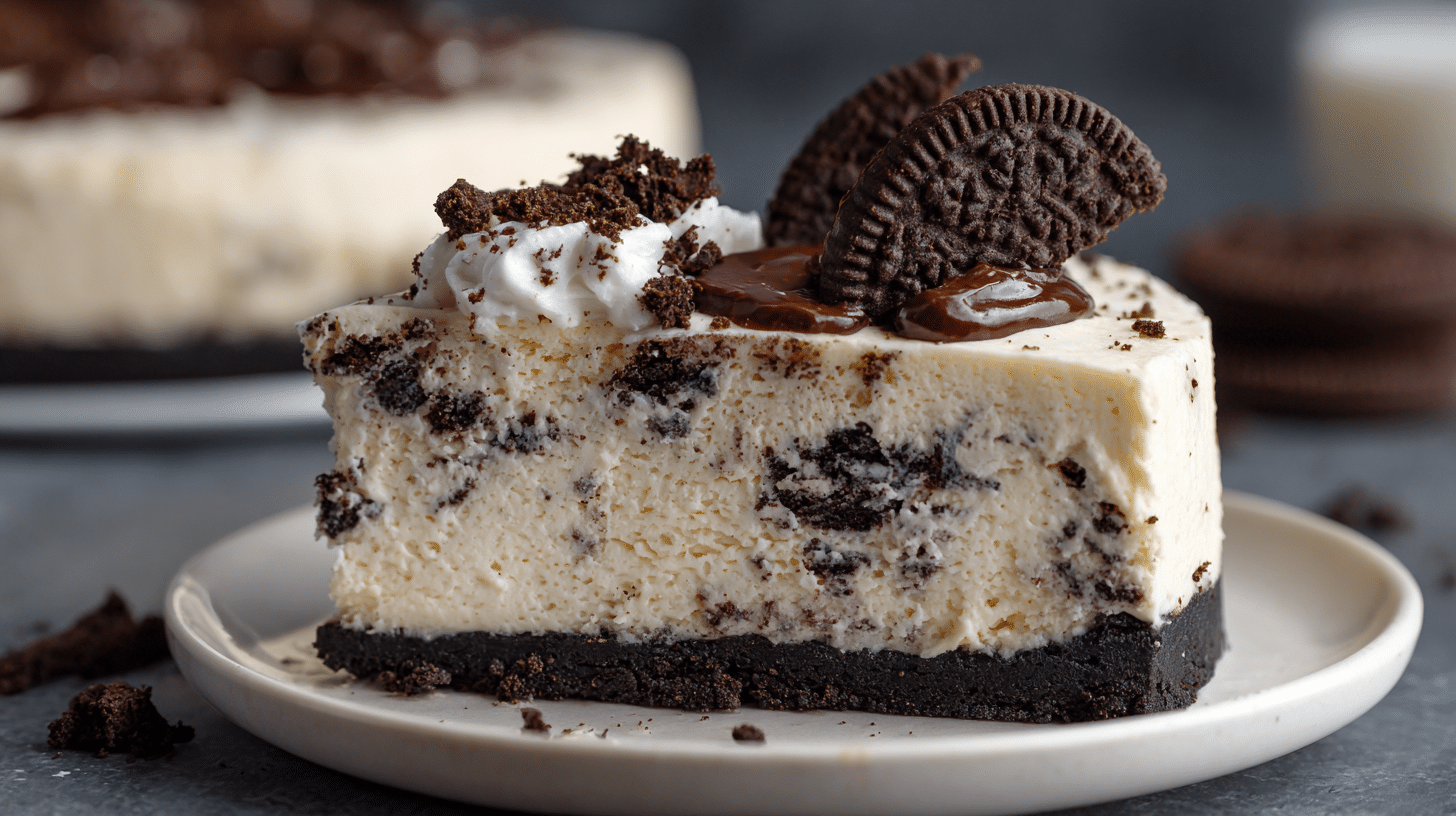
And if you’re in the mood for a no-oven dessert after these cookies, don’t miss our creamy no bake Oreo cheesecake recipe that’s perfect for any occasion.
Pro Tips for Perfect Cookies
Avoid dryness
- Do not overbake: The cookies should look soft in the center when you pull them out. They continue to cook on the hot tray.
- Don’t reduce sugar too aggressively: Sugar helps keep them tender and moist. Reducing it too much can make them crumbly.
- Use creamy peanut butter: Very dry or old peanut butter creates drier cookies. If your peanut butter seems stiff, briefly warm it in the microwave (5–10 seconds) before mixing.
Avoid spreading
- Check your peanut butter: Natural peanut butter with lots of oil tends to spread more. Make sure it’s well‑stirred and not overly runny.
- Chill if needed: If your dough appears shiny and soft, chill for 20–30 minutes to firm it up.
- Space them properly: Give each cookie enough room to expand slightly without touching the others.
Soft vs. crispy
You can customize the texture with small adjustments:
- For soft and chewy cookies:
- Bake for the shorter time (about 8 minutes).
- Use some brown sugar or a brown/white mix.
- Remove from the oven as soon as the edges look set.
- For crispier cookies:
- Bake 1–2 minutes longer, watching carefully to avoid burning.
- Use mostly or all white sugar.
- Press them slightly thinner with the fork.
Variations
Classic 4-ingredient
Stick to the base:
- Peanut butter
- Sugar
- Egg
- Vanilla
This version is perfect when you want the clean, pure taste of peanut butter and the shortest ingredient list possible.
With chocolate chips
- Fold in ½ cup semi‑sweet or dark chocolate chips (or chopped chocolate) at the end of mixing.
- This creates pockets of melted chocolate in every bite and turns the cookies into a peanut butter–chocolate combo you’ll crave again.
Low-sugar ideas
If you want to gently lower the sugar:
- Reduce sugar from ¾ cup to about ⅔ cup and expect slightly less sweetness and a bit more crumbly texture.
- Use a mix of sugar and a granulated sugar substitute if you’re used to baking with them. Start with half real sugar and half substitute and adjust from there.
Because sugar influences structure here, very low‑sugar batches may be more fragile, so let them cool completely before moving.
Nut-free alternatives
If you need something peanut‑free but still love the concept:
- Swap peanut butter with sunflower seed butter or soy nut butter for a similar texture.
- Taste the dough (without raw egg if you prefer to be cautious) and adjust sweetness and vanilla because these butters can be more bitter.
Important: Nut-free does not automatically mean allergen-free. Sunflower or soy nut butter cookies may still be unsafe for those with broader seed/soy allergies. Always check with your guests.
These flourless peanut butter cookies are a perfect example of how simple ingredients can create amazing treats, just like many other ideas you’ll find in our easy dessert recipes collection.
Storage & Freezing
Room temperature storage
- Let cookies cool completely before storing.
- Place them in an airtight container at room temperature.
- They usually stay fresh and soft for 3–4 days.
To keep them extra moist, you can add a small piece of bread or a slice of apple in the container to gently maintain humidity (replace every day and make sure it doesn’t touch the cookies directly).
Freezing baked cookies
- Let cookies cool completely.
- Arrange them in a single layer on a tray and freeze until firm.
- Transfer to a freezer bag or container, using parchment between layers if stacking.
- Label with date; they keep well for about 2–3 months.
To serve, thaw at room temperature for 15–20 minutes, or warm briefly in the microwave for that “fresh‑baked” feel.
Freezing the dough
- Scoop and roll the dough into balls.
- Freeze the balls on a tray until solid, then transfer to a freezer bag or container.
- Bake directly from frozen at 350°F (175–180°C), adding 1–2 extra minutes to the baking time.
Food safety note: Always store dough and cookies away from raw meats in the fridge or freezer to avoid cross‑contamination, and label clearly if they contain allergens like peanuts.
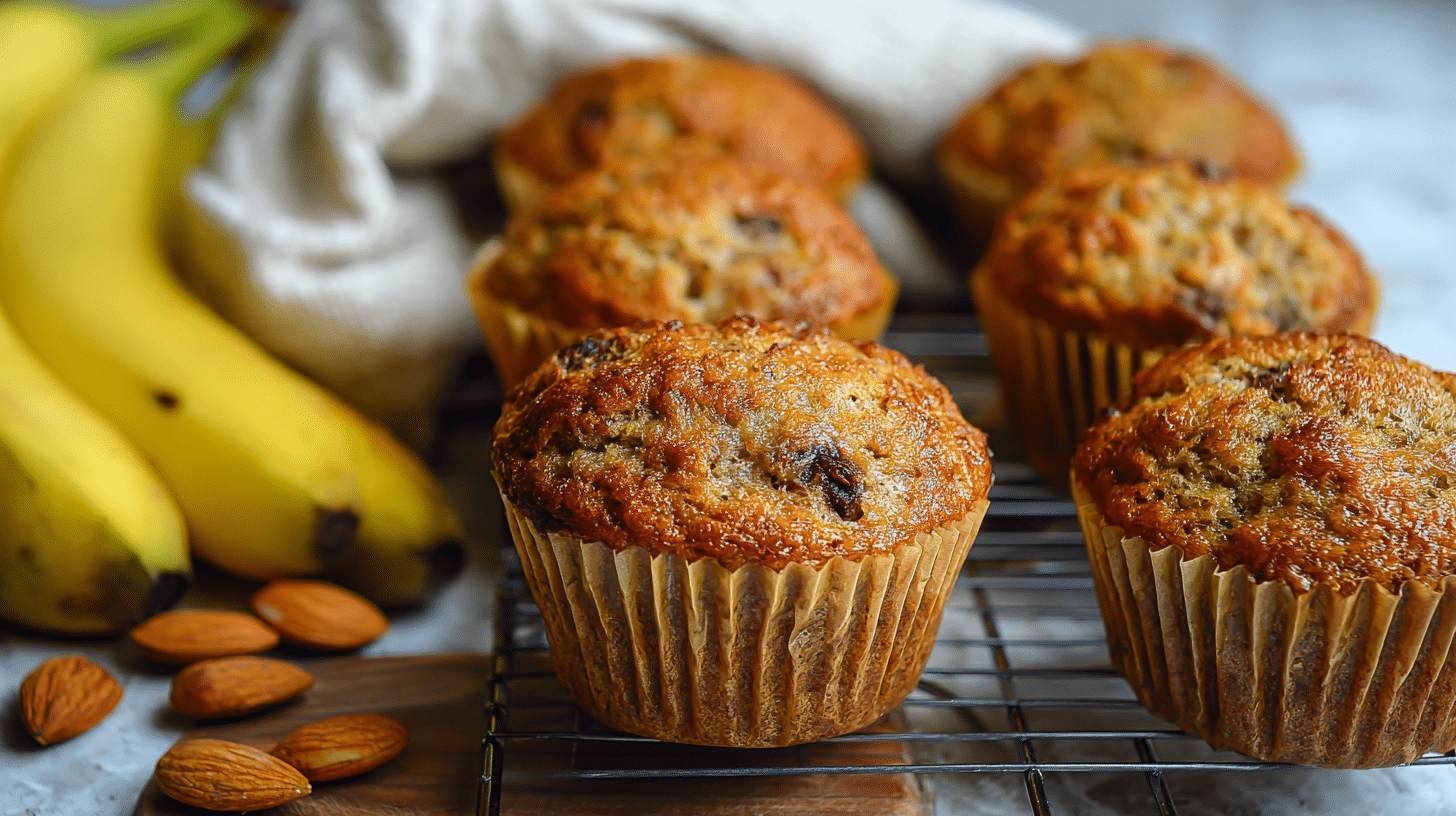
If you love quick baked treats like these cookies, you’ll definitely enjoy this soft and moist banana bread muffin recipe for an easy homemade breakfast or snack.
FAQs
Are these cookies really gluten-free?
Yes, the base recipe uses no wheat flour at all and relies on peanut butter, egg, and sugar for structure. As long as your peanut butter and add-ins (like chocolate chips) are certified gluten-free and not processed with gluten-containing ingredients, the cookies themselves are gluten-free.
Can I use natural peanut butter?
You can, but you’ll want to be a bit more careful:
- Stir the jar thoroughly so the oil is fully incorporated.
- If your dough looks thin or oily, chill it for 20–30 minutes before baking to limit spreading.
- Expect a slightly different texture—often a bit more fragile and less chewy than with regular creamy peanut butter.
Can I double the recipe?
Absolutely. This recipe scales very well:
- Simply double every ingredient and use a large mixing bowl.
- Bake one tray at a time, or rotate trays halfway through baking if your oven doesn’t heat evenly.
- Watch the first batch closely to confirm the ideal baking time for your oven and cookie size, then repeat for the rest.
Why did my cookies turn out dry or flat?
Dry cookies usually mean:
- They were baked too long. Pull them when the centers still look soft.
- The sugar was reduced too much, or the peanut butter was very dry.
Very flat cookies often mean:
- The peanut butter was too oily or runny (common with natural PB that isn’t well‑stirred).
- The dough needed to chill before baking.


 (2)")